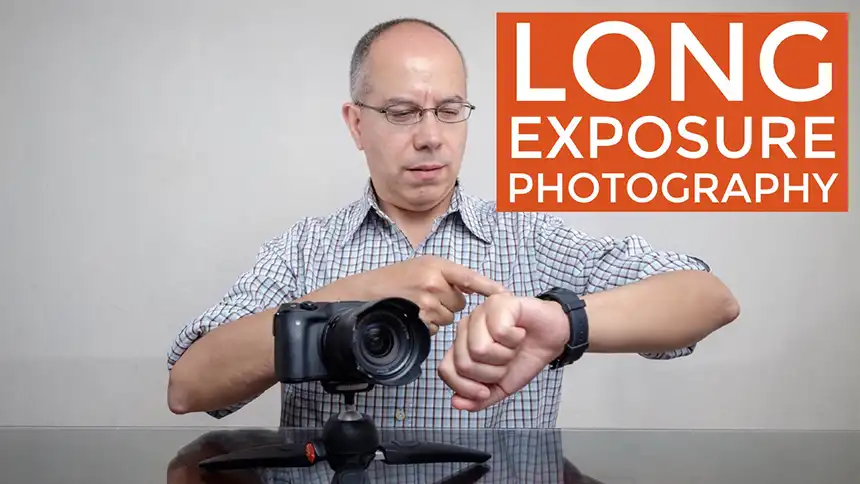
Long Exposure Photography
Do you want to photograph the light trails from cars? How about the silk effect? Then, you want to do long exposure photography. Keep reading to learn more.
What is “Long Exposure Photography”?
As the name implies, long exposure photography is created by exposing the sensor to the light for a long period of time. Many images in regular photography are created exposing the sensor for a fraction of a second, let’s say 1/60 or shorter times. However, long exposure photography is created using exposure times of 1, 2, 8 seconds or even longer.
The Gear
So, what do you need to create long exposure photographs? Let’s start with the obvious, you need a camera with manual controls and a lens. This could be a DSLR, a bridge camera, a compact manual camera or even your smartphone using a manual control app.
When you use long exposure times, any camera movement will show in the image, so you need some sort of support. The usual camera support is a tripod, but any support will do. You can use a small pillow, a bean bag, your camera bag… anything that keeps your camera stable and secure.
Depending on the light conditions and the desired effect, you can also use a Neutral Density filter. These filters are made to reduce the light they let through by a specific amount. You may find ND filters that reduce light by 1, 2, 3, 4 or 5 stops. The logic behind using these filters is that, given the same ISO and aperture, they will let you use times that are twice, 4, 8, 16 or 32 times longer than the initial metering.
How to do it?
The initial setup for a long exposure is pretty simple and you have two options. Set the ISO to the lowest value available in your camera. It may be 100, but if your camera is capable of ISO 64, 50 or 32, use that.
One option is to use Manual mode. Set the aperture to a high value (closing down the diaphragm) like 16. Then adjust the time until you have a properly exposed image. You have more control using Manual mode, it just takes a little longer to setup.
Another (simpler) option is to use Time/Speed priority mode. In this case you only need to set the time 1 second or longer and the camera will calculate the aperture to obtain a properly exposed image. Using Time priority is very convenient, but you lose a bit of control.

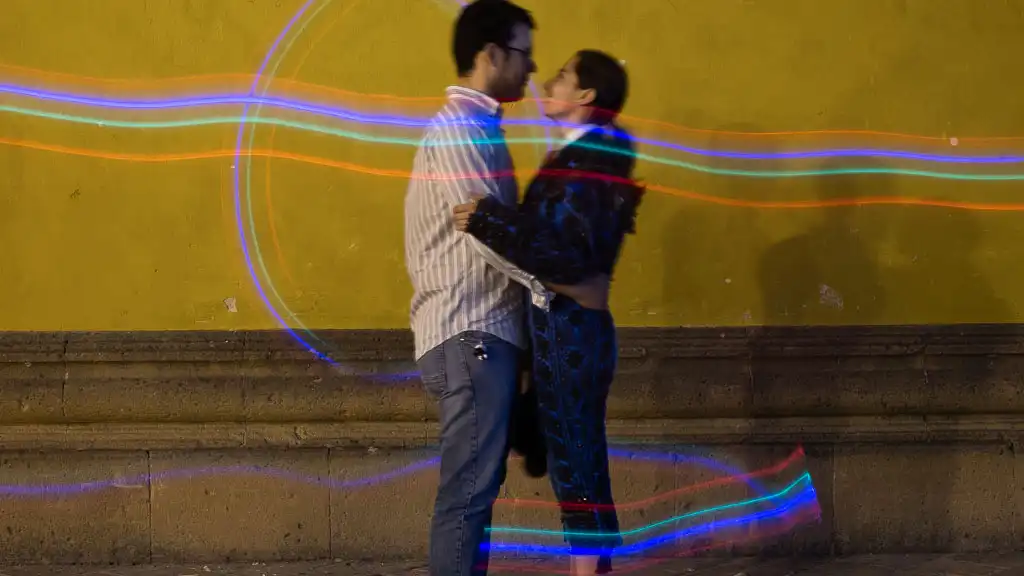
Regardless of the option you use, the actual exposure time depends on the lighting conditions in the scene. If you’re shooting at dawn or dusk, it will be easier for you to set a long exposure time, get a properly exposed image and show light trails from cars, for example. If you’re near a fountain at dawn or dusk, you can create the “silk effect” (making the water look like silk) by shooting the fountain for a few seconds.
Creative Uses of Long Exposure
Long exposure photography allows you to make unusual, creative images. You can use flashlights or any other small light source to “paint” in the air, using light. You could also use more powerful flashlights to paint an object with light, in case it was not lit enough. Or, you could erase people from a scene, if they move fast enough.

As you can see, long exposure photography is a great and reasonably simple way to produce creative images. Go ahead and practice it. Post your images and use the #alexsilvaphotography hashtag.
If you liked this post, share it with your friends! If you’d like to add anything, please leave a comment below.