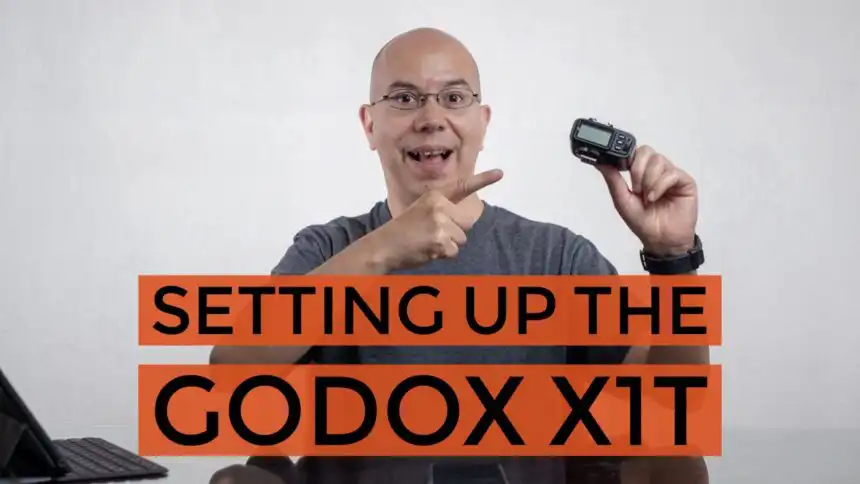
Setting Up the Godox X1T Transmitter
Do you own a Godox X1T transmitter? Let’s set it up! Keep reading to learn how.
If you follow this blog, you now know how to setup the Godox TT685 and TT350. One of the most useful features of those flashes is their integrated transceiver, so that they can either control other flashes remotely or be controlled, using Godox’ radio frequency communication.
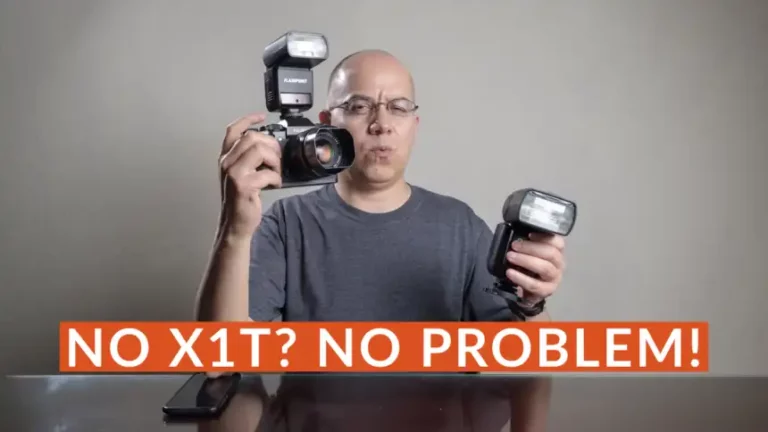
However, you may run into situations where you need all your flashes off your camera and you need something else to control them. Enter the X1T, which is one of Godox’ dedicated transmitters, and it works by placing it on your camera’s hotshoe.
It’s not the most recent Godox transmitter but it’s the most popular. There are different versions, compatible with various camera systems, specifically: Canon, Nikon, Sony, Fujifilm, and Olympus/Panasonic (Micro 4/3).
The X1T uses a proprietary protocol over the 2.4GHz radio band. In this regard it is similar to the Canon ST-E3-RT, or the Sony FA-WRC1M. They can all control 5 groups of flashes, cover 30 m (approximately 100 ft), and can use one of 32 channels. Even though they have similar functionalities, they are not compatible.
Enough about specifications, let’s set it up!
Batteries and Power
The battery compartment is pretty straightforward. It has a sliding cover and it holds two AA batteries, which can be alkaline or rechargeable. These should be enough to work for 10 hours.
Buttons and Switches
After you put your batteries in, you slide the door closed and you’re good to go. At the back of the transmitter there is a screen, three buttons labeled CH/OK, GR and MODE respectively, and a control wheel. The power switch is located on the side, along with another switch which controls the autofocus assist light.
Channel
On the top right of the screen you see the channel you’re using. The default channel is 1. You can change the channel by pressing the OK/CH button once, then turning the wheel up or down. Press the OK/CH button again and you confirm your selection. Please notice: the transmitter and the flashes need to be set to the same channel, in order to communicate properly.
Group
When you turn the X1T on, you see a list of groups on the left side of the screen, labeled from A to E. Turn the control wheel to select a group, aligning the group letter with the small arrow on the left of the screen.
Mode
Pressing the MODE button will cycle the selected group between Off, TTL and Manual modes. This means you can turn the group off, set it to TTL (automatic) mode or Manual mode.
TTL
Pressing the GR button while a TTL group is selected makes it flash on the screen. Turn the wheel up or down to set the Flash Exposure Compensation for that group. You can choose between -3 and +3 stops, with ⅓ stop increments.
Manual
Pressing the GR button while a Manual group is selected allows you to change its power setting. You can then turn the wheel up or down, to set power from 1/1 (full) to 1/128 (minimum), with ⅓ stop increments.
Notice how you can set some groups to Manual power while other groups can work in TTL mode, giving you more creative freedom.
If you set the power and want to test communications with the flashes without taking a photograph, you can press the TEST button located on top of the X1T. You should see all the flashes firing, as well as an LED light turning on, next to the TEST button.
Passthrough
While the X1T is made to be operated from your camera’s hotshoe, it has a hotshoe of its own. However, it is not a TTL-passthrough hotshoe, so it sends a simple firing signal to whatever you place on it, whether it is a flash or another transmitter.
As you can see, the Godox X1T is a very capable flash transmitter/controller, available for many camera brands, very reliable, well made, and a great alternative to brand name flash systems. I’ll make sure to update this blog as I continue expanding my flash system.
I hope this post was helpful for you. If that was the case, share it with your friends! If you’d like to add something, please leave a comment below.