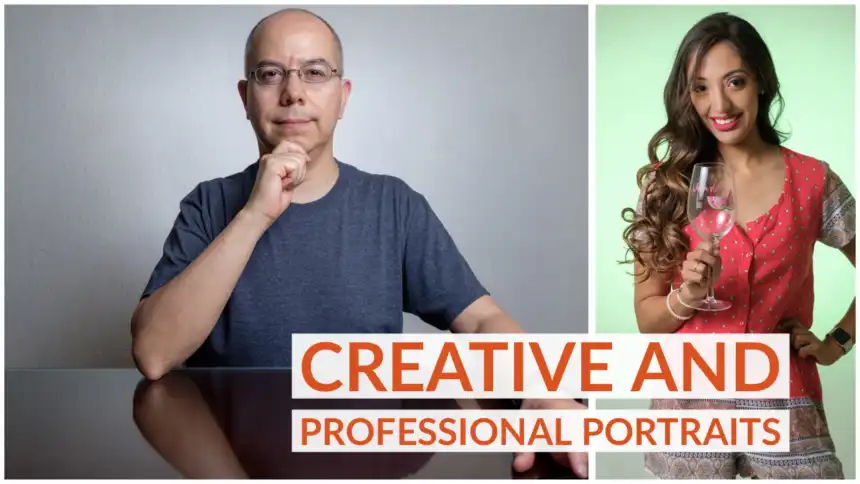
Shooting Creative Professional Portraits
One of my latest shoots involved mixing formal portraits with some creative touches. Keep reading to learn how I shot it.
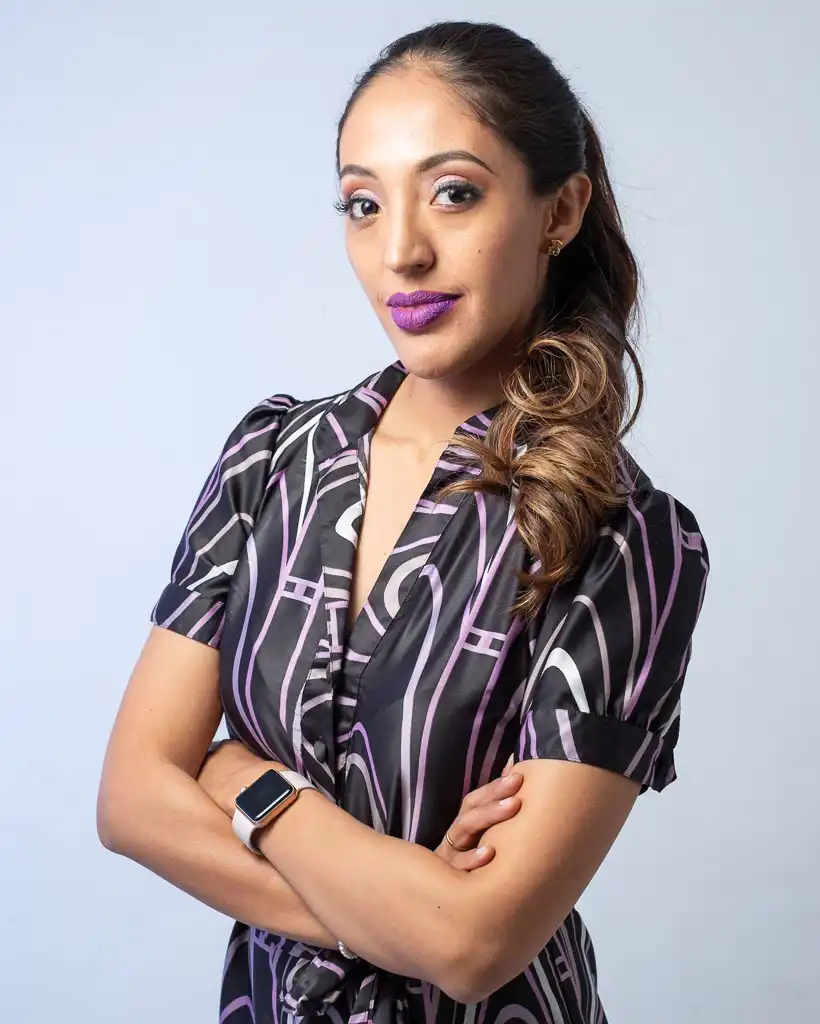
I recently had the pleasure of working with Dr. Mayra Alvarez, who is a medical doctor and her specialty is weight control. She’s, of course, great at her work and very active in social media. She approached me because she wanted a mixture of formal portraits for professional networks, and creative portraits for her social media posts.
Requirements
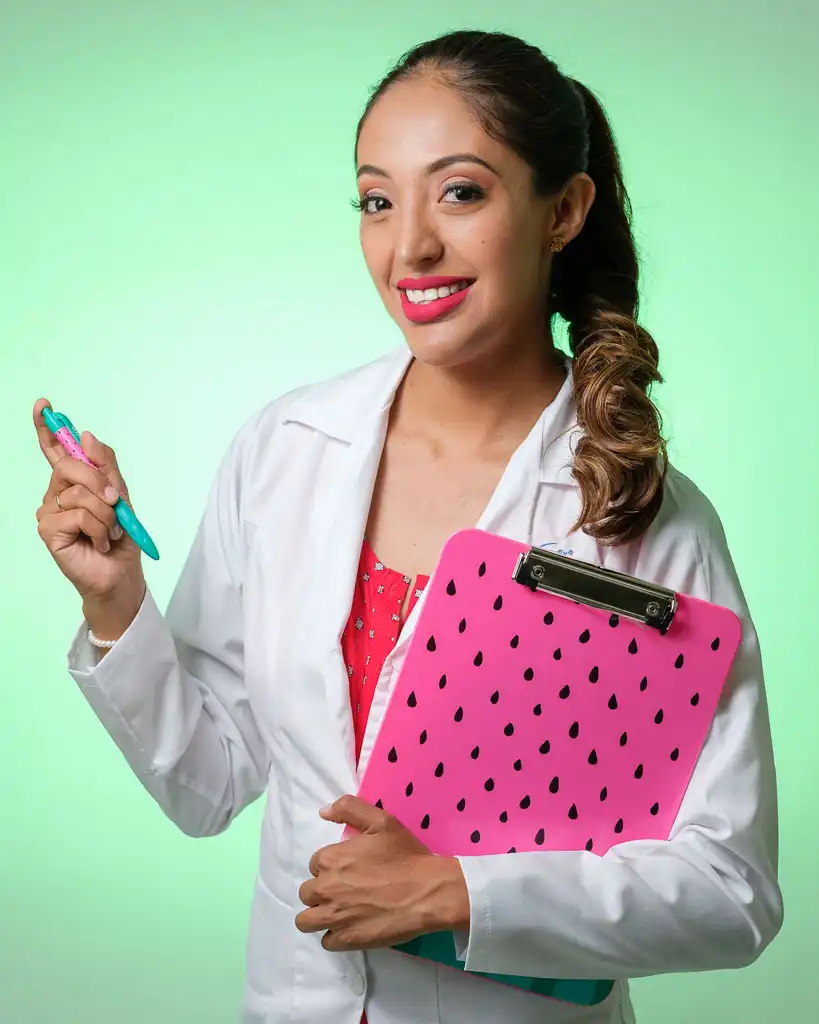
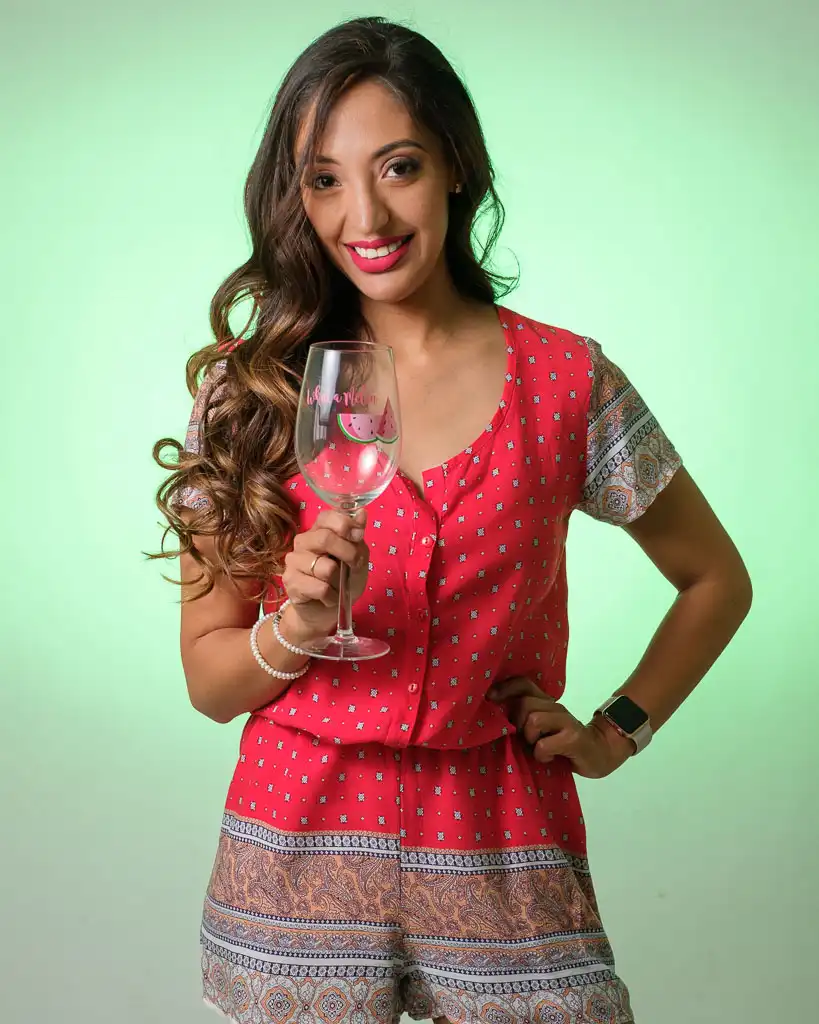
During our requirements interview she described herself as energetic, committed and competitive and she wanted to show that in her photographs. She also explained that, in terms of style and corporate image, the base colors she preferred were light pink and green, but any other color combination would be fine, as long as the message was about health and nutrition.
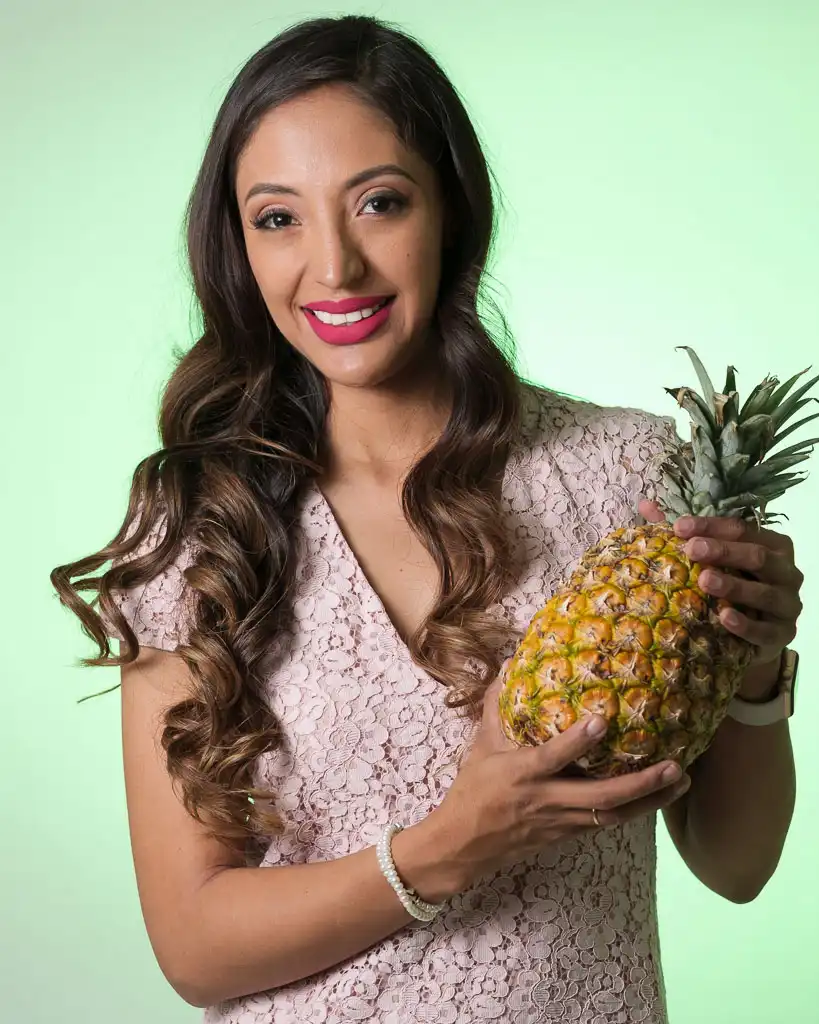
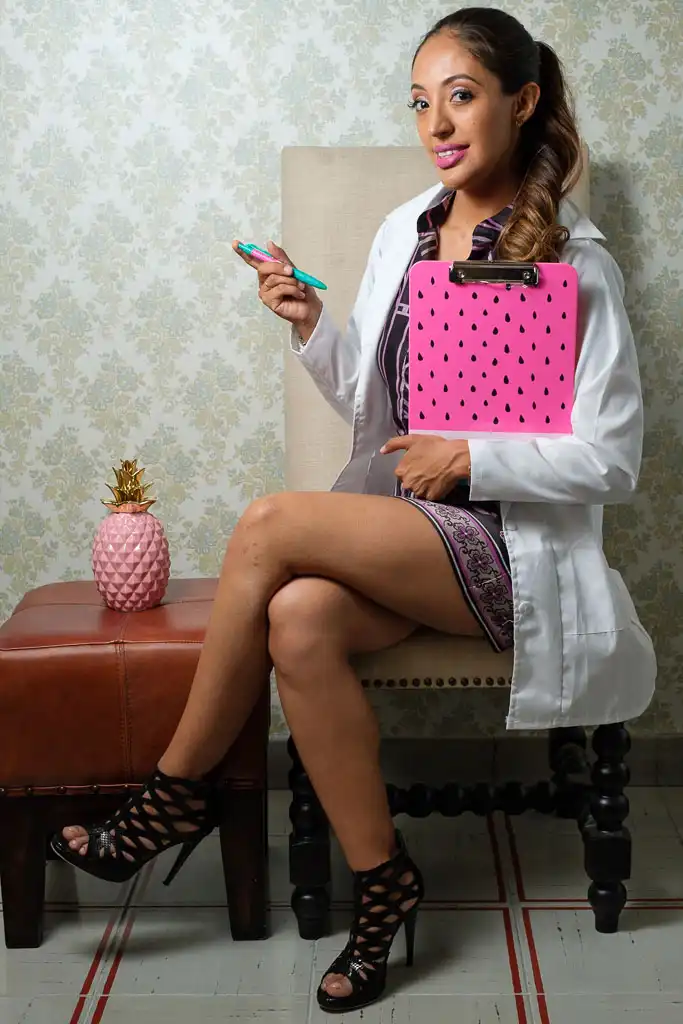
Based on this message we agreed to use colorful fruits, natural and artificial, as props. Being a doctor, she also wanted one portrait with a white coat for a more formal image.
Gear and Location
During our planning meeting, we agreed to shoot in a studio instead of a location and refined details about the props and message to be shown in the images. We also agreed on a second shoot, but left the details pending until we finished the first one.
The location was Rogelio’s studio, which I had used to shoot some flash experiments, like my first experience with flash gels. This is a small and simple place, but fit the bill nicely.
In terms of gear, I went for the gear you already know. The main camera was the Fujifilm X-T2, with XF35mmF1.4 R for full body shots and XF56mmF1.2 R for close ups.
Lighting would come from two Godox TT685, controlled with the Godox X1T. I decided to use gels on the background light, which was bare, while the key light was inside a 90 cm (3 ft) octabox.
The video camera was the Fujifilm X-E3 with the XF10-24mmF4 OIS.
Team
This time, my only assistant was Fernando, who did a great job, as usual.
You can see some of the best images:

At the end of this shoot we agreed to shoot again, so I think you’ll see more of Dr. Mayra in my instagram feed and on the blog.
As you can see, I’m refining my process, which now includes requirements and planning meetings, as well as the shoot. This allows both my clients and me to make sure we both understand the goal we try to achieve. This way, when the day of the actual shoot comes, we both know what to do.
My question for you is, how do you plan and execute your shoots? Please, share your experience in the comments section.
I really hope you found this post interesting, informative but also entertaining. If that is the case, please leave a comment below and share this post with your friends! But most of all, please remember to Stay Safe, Keep Learning and Keep Creating.
DISCLAIMER: Links included in this post might be affiliate links. If you purchase a product or service with the links that I provide I may receive a small commission at no additional charge to you. Thank you for supporting this blog so I can continue to provide you with free content every week!