3 Steps for a Dramatic Portrait
Let’s create a dramatic portrait using high key lighting! How can you do it? Keep reading and you’ll see.
In my previous posts I explained how to use a flash, then how to balance flash with ambient light and how to create low key lighting. In this post you’ll learn one way to create high key lighting, which is the third main way to use a flash.
But first, why should you try “high key” lighting? Well, it’s particularly useful when you want to create images in which your subject looks out of reach, unattainable and almost like a divine figure.
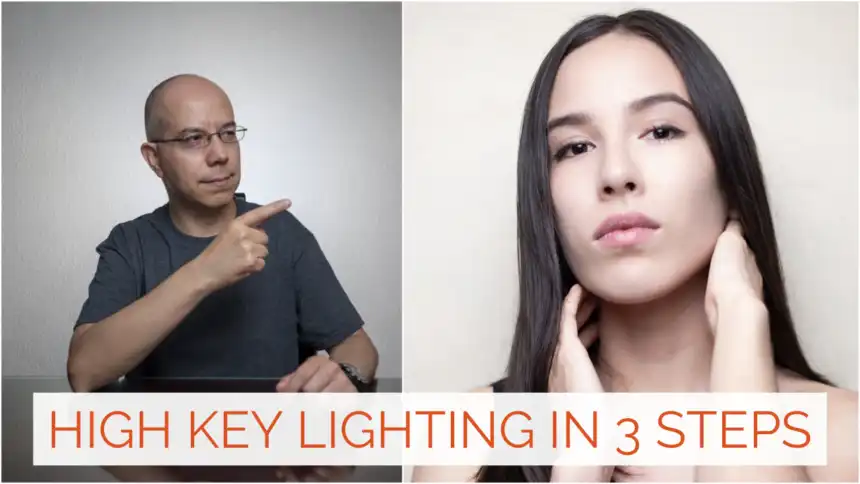
In the example below I worked with Jessica, who has light colored skin and dark hair, so the final image will have a nice contrast, but we’ll make her skin almost as clear as the background.
Let’s follow 3 steps to create high key lighting.
1. Meter for a Neutral Image
Let’s place our subject in front of the camera, compose the frame and meter for a neutral exposure. This will be our starting point.
2. Take a Test Shot
We can now take a test shot, and the image will look, well, neutral. Depending on your lighting conditions, your subject may look just all right but nothing spectacular nor out of the ordinary.

3. Add Flash + ⅓ stop
We’re now ready to add flash, according to our regular calculations, using our current f-stop and distance from the flash to the subject. In my case I used a Godox TT600, with an XPro transmitter on camera. Once you know your flash power setting, add ⅓ stop to it. Take the shot.

There you have it! You should now have an image where your subject looks over-exposed but you can still see the main features, like the eyes, eyebrows, nose, lips and chin.
Bonus Tip
In order for this technique to work better, place your subject close to a white or light colored wall. Then place your flash with a modifier at the same distance from the wall as it is wide.
In the example, I placed the flash+octabox 90 cm (3 ft) away from the wall because the octabox is 90 cm (3 ft) wide. This ensures you’re lighting the background (wall) correctly and the subject is slightly over-exposed.
I really hope you found this post interesting, informative but also entertaining. If that is the case, please leave a comment below and share this post with your friends! But most of all, please remember to Stay Safe, Keep Learning and Keep Creating.
DISCLAIMER: Links included in this post might be affiliate links. If you purchase a product or service with the links that I provide I may receive a small commission at no additional charge to you. Thank you for supporting this blog so I can continue to provide you with free content every week!