Setting Up the Godox XPro Transmitter
Do you own a Godox XPro transmitter? Let’s set it up! Keep reading to learn how.
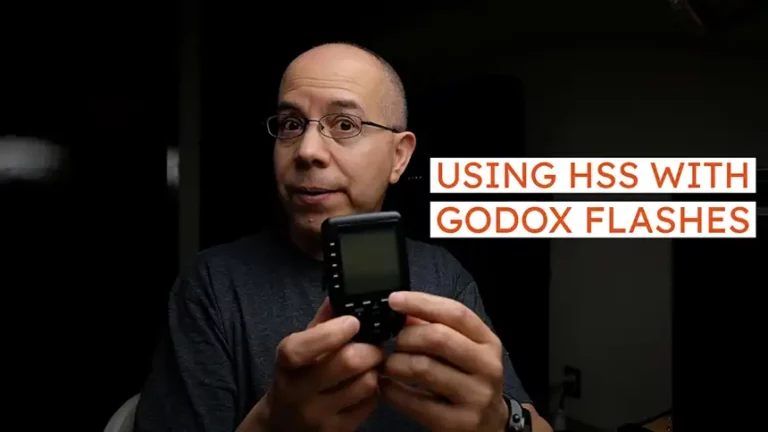
I recently acquired a Godox XPro transmitter to complement my flash gear. By now you know that I use Godox TT685, TT600 and TT350 flashes, along with my Fujifilm cameras. Even though all those flashes have integrated transceivers, many times I need a dedicated transmitter and so may you.
That’s why I bought the XPro transmitter. I already have a Godox X1T transmitter, which works great, but it’s not super intuitive and may be a little cumbersome.
Of course, being a recent Godox product, there are versions compatible with the main camera systems around, specifically: Canon, Nikon, Sony, Fujifilm, Micro 4/3, and Pentax.
The XPro uses Godox’ proprietary protocol over the 2.4GHz radio band, so it is similar to transmitters/controllers from other flash and camera brands, but it’s not compatible with them.
Enough about specifications, let’s set it up!
Batteries and Power
The battery compartment is pretty straightforward, located beneath the large screen, with a sliding cover. It holds two AA batteries which, according to the manual, should be alkaline. Using rechargeable batteries may cause misfires or sending incorrect control signals to the flashes.
Buttons and Controls
One of the main features of the XPro is its large screen. It’s surrounded by a column of unmarked buttons on the left, and a row of more unmarked buttons on the bottom. These buttons have many functions assigned, depending on what yoúre adjusting at a time. The actual function is aligned with the button on the screen.

Below the unmarked buttons you can find the MODE and Tester button on the left, and the MENU and TCM on the right. The control wheel is at the center, with the SET button inside of it.
On the right side of the unit you can find the power switch along with another switch to turn the Autofocus Assist light On or Off.
On the left side is a USB-C port, to run any firmware updates that may come in the future.
Channel
The channel indicator is located on the top left of the screen. The default channel is 1, but you can change it by pressing and holding the first unmarked button (from left to right) below the screen. You’ll see it aligns with the Zm/CH function.
After holding the button for a second or two, you’ll see the channel indicator is now inverted (clear number over dark background). You can now turn the wheel clockwise to increase the channel number, or counter-clockwise to decrease the number. There are 32 channels available. Once you select the channel number, press the SET button to confirm your selection.
Please notice that the transmitter and the flashes need to be set to the same channel, in order to communicate properly.
Group
Selecting the group to work with is super simple. Notice how the groups are listed on the screen, aligned with the left column of unmarked buttons. So you only need to press the button aligned to the group you want to adjust.
Mode
If you select a group and then press the MODE button repeatedly, you will cycle that group between Off, TTL and Manual modes. This means you can turn the group off, set it to TTL (automatic) mode or Manual mode.
TTL
When you select a group that is in TTL mode, you can then turn the wheel clockwise or counter-clockwise to set the Flash Exposure Compensation for that group, between -3 and +3 stops, with ⅓ stop increments. Press the SET button to confirm the adjustment.
Manual
When you select a group that is in TTL mode, you can then turn the wheel clockwise or counter-clockwise, to set power from 1/1 (full) to 1/128 (minimum), with ⅓ stop increments. Press the SET button to confirm the adjustment.
Notice how you can set some groups to Manual power while other groups can work in TTL mode, giving you more creative freedom.
If you set the power and want to test communications with the flashes without taking a photograph, you can press the Tester button located below the MODE button. You should see all the flashes firing, as well as an LED light turning on, below the TCM button.
As you can see, the Godox XPro is a very capable flash transmitter/controller, available for many camera brands, very reliable, well made, and a great alternative to brand name flash systems. Of course, it has many more functions than the ones I described, but I decided to show you the most common or useful, regardless of the camera system you use.
I really hope you found this post interesting, informative but also entertaining. If that is the case, please leave a comment below and share this post with your friends! But most of all, please remember to Stay Safe, Keep Learning and Keep Creating.
DISCLAIMER: Links included in this post might be affiliate links. If you purchase a product or service with the links that I provide I may receive a small commission at no additional charge to you. Thank you for supporting this blog so I can continue to provide you with free content every week!


