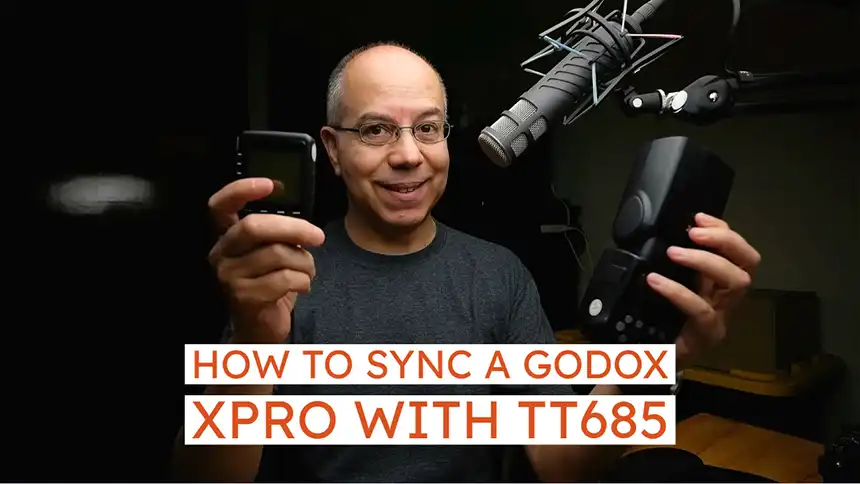
How to Sync a Godox TT685 with an XPro
Let me explain how to sync a Godox TT685 with a Godox XPro transmitter! This is my go-to off-camera flash setup, and it could be your preferred setup, too.
Syncing a Godox TT685 with a Godox XPro transmitter is not rocket science, but there are a few considerations you need to make. You’ll choose a channel and ID, assign a group, set the flash mode and, adjust power settings and zoom.
Please notice two things:
- These instructions work for the Godox TT685 and V860II
- Even though there’s a new version of this flash, the TT685II, the method is the same.
In a previous post I explained how to do this setup using a manual flash, specifically the Godox TT600. The Godox TT685 is a TTL flash, so we have a few more tools and options.
Setup the Godox TT685
First, we’re going to set the flash, making sure that it’s ready to receive orders.
Radio Slave
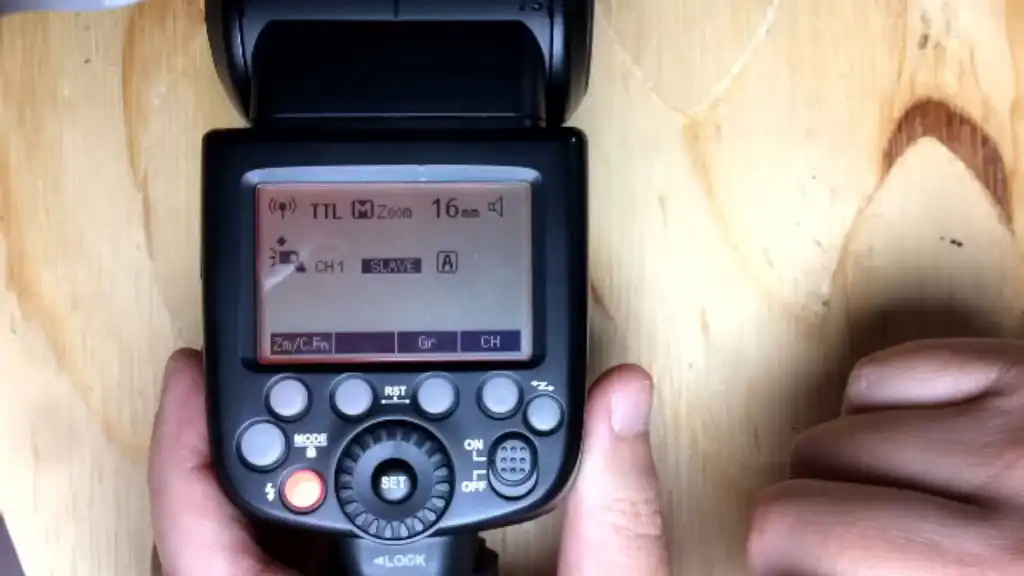
When we just turn the flash on, the flash is in TTL mode. It’s ready to work on-camera.

Let’s press the Sync button labeled with the lightning symbol once. The TT685 is now in Radio Master mode, ready to send orders to other flashes. Let’s press the same button again, and the flash is now in Radio Slave mode, as stated on the screen.
Choose a Channel
The next step is to choose a channel for the flash and transmitter to communicate.
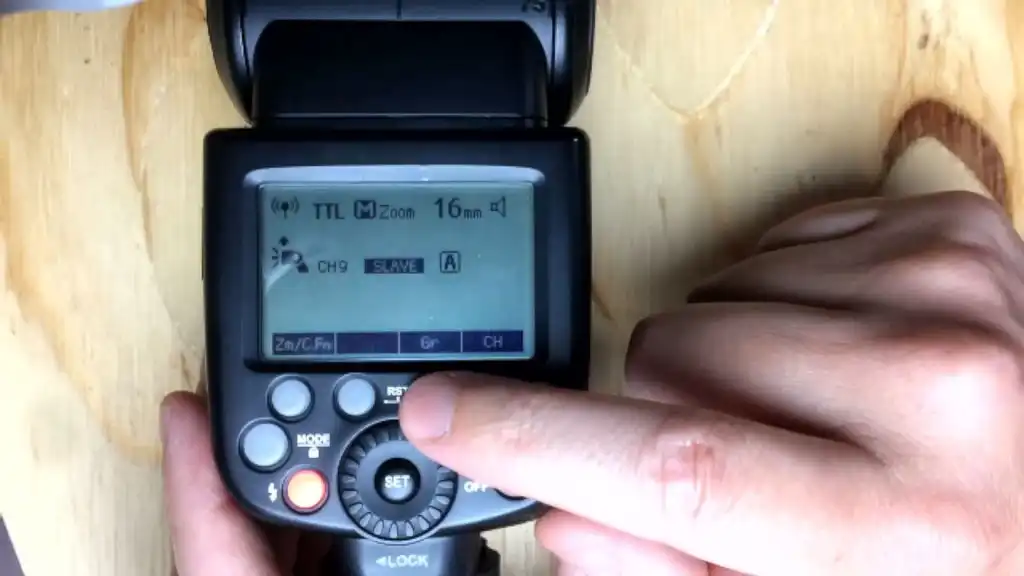
If you press the CH button, the channel number is now highlighted on the screen. Let’s rotate the wheel to select a channel number and then press the SET button to confirm our choice.

I recommend avoiding channel 1 because many people use it as the default. I like to use channel 9 because it’s my lucky number, but you can choose any other. There are 32 channels available.
Choose an ID number
ID is an optional function you can use to avoid interference from other Godox flashes, in case they are set to the same channel.

To set the ID you need to press and hold the Zm/C.Fn button until the menu appears on the screen. Then, you need to rotate the wheel until you select the ID function. Press the SET button and you can rotate the wheel to select an ID or turn the ID function off. When you select an ID number, press the SET button.

There are 99 ID numbers to choose from, so I set mine to 81.
Please notice that setting an ID number is optional, but if you decide not to use the ID function, make sure it’s Off.
Assign a Group
Now, we need to assign this flash to a group. You only need to press the GR button repeatedly, so you jump between A, B and C groups.
I assigned the flash to group B.
Set Zoom Remotely
Even though you can set the flash zoom manually, I prefer to set it so you can adjust it remotely.
Just press the Zm/C.Fn button and rotate the wheel to the left (counter-clockwise) until you see the M next to “Zoom” change to an A. The zoom value should change to three dashes, instead of a number.
The flash is now ready to receive orders on channel 9 and ID 81. It will respond to orders directed towards group B. These orders should include the flash mode, power setting and zoom.
The front of the flash should be blinking. This blinking is the visual indicator that this flash is in Radio Slave mode, and we cannot change it.
Setup the Godox XPro
In order to sync a Godox TT685 with an XPro, the transmitter needs to use the same channel and ID of the flash. This ensures you can send orders to it.
Set the Channel
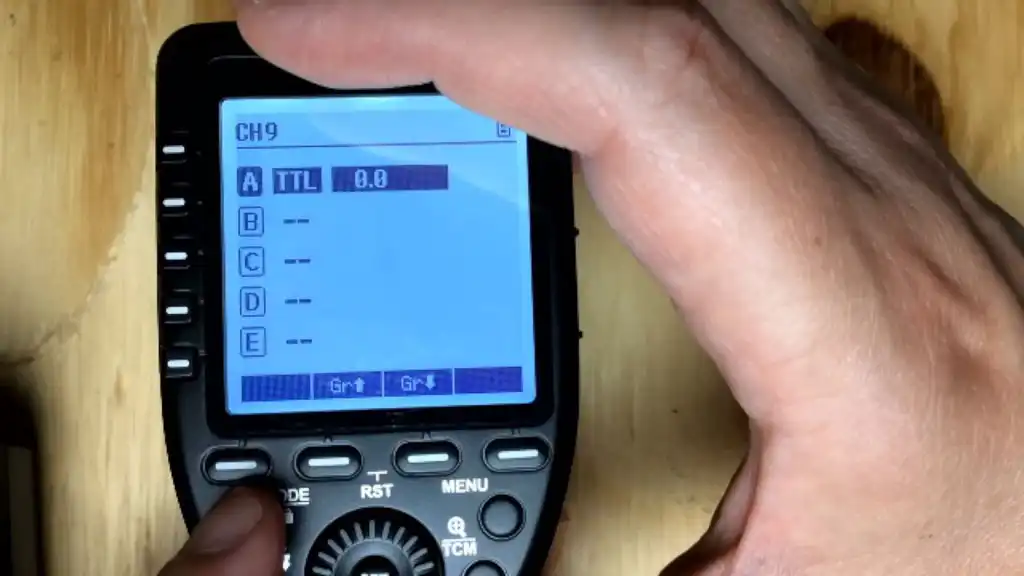
Setting the channel on the XPro is pretty simple. Just press and hold the Zm/CH button until the channel number is highlighted on the screen. Rotate the wheel until you get the number you need and press the SET button.

As you can see in the image, I set mine to channel 9.
Set the ID
The next step is to set the ID number. Press the MENU button and rotate the wheel until you find the ID function. Press the SET button and the number should be highlighted. Rotate the wheel to set the value and press the SET button to confirm your selection. Press MENU again to go back to the regular screen.

Please remember that it should be the same as you set in the flash. In my case, it’s set to 81. If you decided not to use ID, set it to Off.
At this point the transmitter is ready to send orders to the flash. Now, we need to decide the orders we want to send to it.
Select a Group
Our flash is currently assigned to group B, so we need to select group B on the transmitter. We do this by pressing the corresponding button on the left of the screen.

Set Mode
Next, press the MODE button repeatedly to jump between the group being Off, in TTL mode or Manual mode. Let’s choose Manual mode.
If you look at the flash’ screen, it should show that it’s in Manual mode, with a power setting.
Set Power
Let’s change the power setting by selecting the group and rotating the wheel on the transmitter. You should see the power changing between 1/1 (full power) and 1/128 (8 stops down). Every click of the wheel changes power by 0.3 stops.
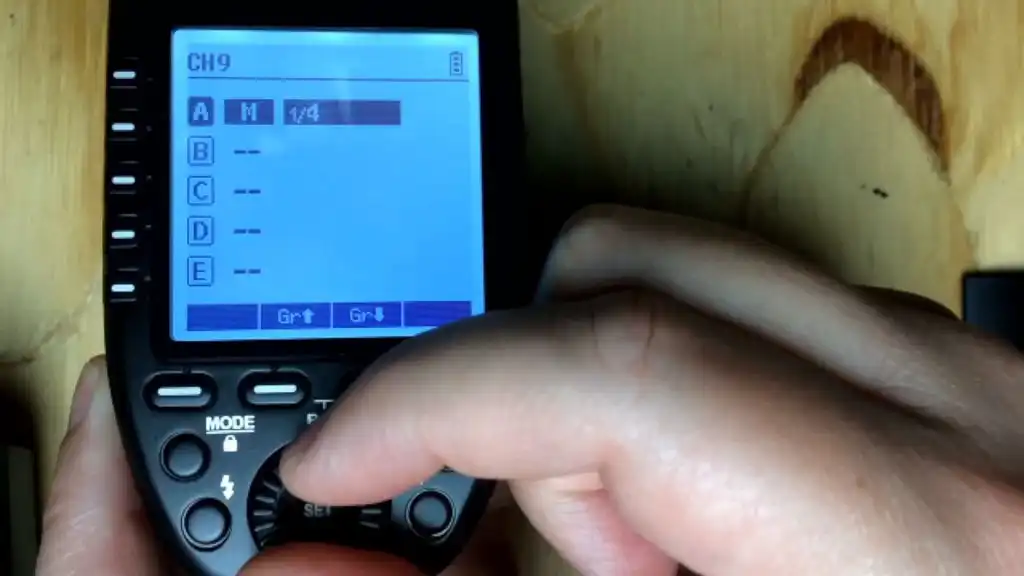
I set mine to 1/16, as you can see in the image.
Set Zoom
Adjusting the flash’ zoom remotely is very easy. You only need to press the Zm/C.Fn button once, and you’ll see that the screen changes. It now displays the zoom value of each group.

Select the group, in our case group B, and then rotate the wheel to adjust the zoom. You will probably hear the flash zooming in or out. Press SET to confirm your selection. I set mine to 24mm.
Let’s press Zm/C.Fn again to go back to the regular screen.
If you press the tester button, labeled with a lightning bolt on the XPro, the flash should fire.
Summary
You first selected a channel and ID to use. The ID is an optional function, but you have to set a channel. Then, you selected a group for the flash to belong to, so youe can direct the orders to it. Those orders were about the Mode, the Power setting and the Zoom setting.
And there you have it! You went through the steps to sync a Godox TT685 with an XPro.
I really hope you found this post interesting, informative but also entertaining. If that is the case, please leave a comment below and share this post with your friends! But most of all, please remember to Stay Safe, Keep Learning and Keep Creating.
DISCLAIMER: Links included in this post might be affiliate links. If you purchase a product or service with the links that I provide I may receive a small commission at no additional charge to you. Thank you for supporting this blog so I can continue to provide you with free content every week!